# Run SSCMS in Linux
NOTE
if you plan to deploy SSCMS in the official Linux production environments, please refer to Host SSCMS on Linux with Nginx or Host SSCMS on Linux with Apache for more.
# 1. Download and extract SSCMS
Create and enter SSCMS root folder, for example, run SSCMS in /var/web:
Create and enter the folder:
mkdir /var/web
cd /var/web
Download the SSCMS installation package. For the latest product download address, please go to the product website to obtain:
curl -O https://dl.sscms.com/cms/7.2.0/sscms-7.2.0-linux-x64.tar.gz
extract to the folder /var/web:
tar -xzf sscms-7.2.0-linux-x64.tar.gz
# 2. Modify the configuration file
SSCMS use default port 5000, if you want to change the default ports, such as port 80, open and modify the sscms.json file:
{
  "Urls": "http://*:5000"
}
Modify the 5000 port in Url to the specified port.
You can set multiple endpoint, such as:
{
  "Urls": "http://*:5000;http://localhost:5001;https://hostname:5002"
}
# 3. Run SSCMS
Run SSCMS in the command line:
./sscms
If you want to specify the endpoints on the command line, you can run:
./sscms --urls="http://localhost:8000;http://localhost:8001"
After running, the command line will prompt the following information:
[12:44:44 INF] Executing ConfigureServices 'SS.CMS.Plugins.AddStaticFiles' <s:Microsoft.Extensions.DependencyInjection.IServiceCollection>
[12:44:44 INF] User profile is available. Using '/root/.aspnet/DataProtection-Keys' as key repository; keys will not be encrypted at rest. <s:Microsoft.AspNetCore.DataProtection.KeyManagement.XmlKeyManager>
[12:44:44 INF] Creating key {9fdb3158-aa3c-451e-96f1-26bbedacd8fd} with creation date 2020-03-11 04:44:44Z, activation date 2020-03-11 04:44:44Z, and expiration date 2020-06-09 04:44:44Z. <s:Microsoft.AspNetCore.DataProtection.KeyManagement.XmlKeyManager>
[12:44:44 WRN] No XML encryptor configured. Key {9fdb3158-aa3c-451e-96f1-26bbedacd8fd} may be persisted to storage in unencrypted form. <s:Microsoft.AspNetCore.DataProtection.KeyManagement.XmlKeyManager>
[12:44:44 INF] Writing data to file '/root/.aspnet/DataProtection-Keys/key-9fdb3158-aa3c-451e-96f1-26bbedacd8fd.xml'. <s:Microsoft.AspNetCore.DataProtection.Repositories.FileSystemXmlRepository>
[12:44:44 INF] Executing Configure 'SS.CMS.Plugins.UseStaticFiles' <s:Microsoft.AspNetCore.Builder.IApplicationBuilder>
[12:44:44 INF] Now listening on: http://0.0.0.0:5000 <s:Microsoft.Hosting.Lifetime>
[12:44:44 INF] Application started. Press Ctrl+C to shut down. <s:Microsoft.Hosting.Lifetime>
[12:44:44 INF] Hosting environment: Production <s:Microsoft.Hosting.Lifetime>
[12:44:44 INF] Content root path: D:/web <s:Microsoft.Hosting.Lifetime>
If you want to run the SSCMS anywhere, you can add the SSCMS folder to the $PATH environment variable:
export PATH=$PATH:/var/web
# 4. Install SSCMS
At this point, we can begin to install the SSCMS system.
TIP
If installing in a cloud environment, first configure a security group to ensure that the website address and port can be accessed by the external network.
Open your browser, access the address http://<IP or Domain>:<5000 or others>/siteserver/install, and enter the SSCMS system installation interface:
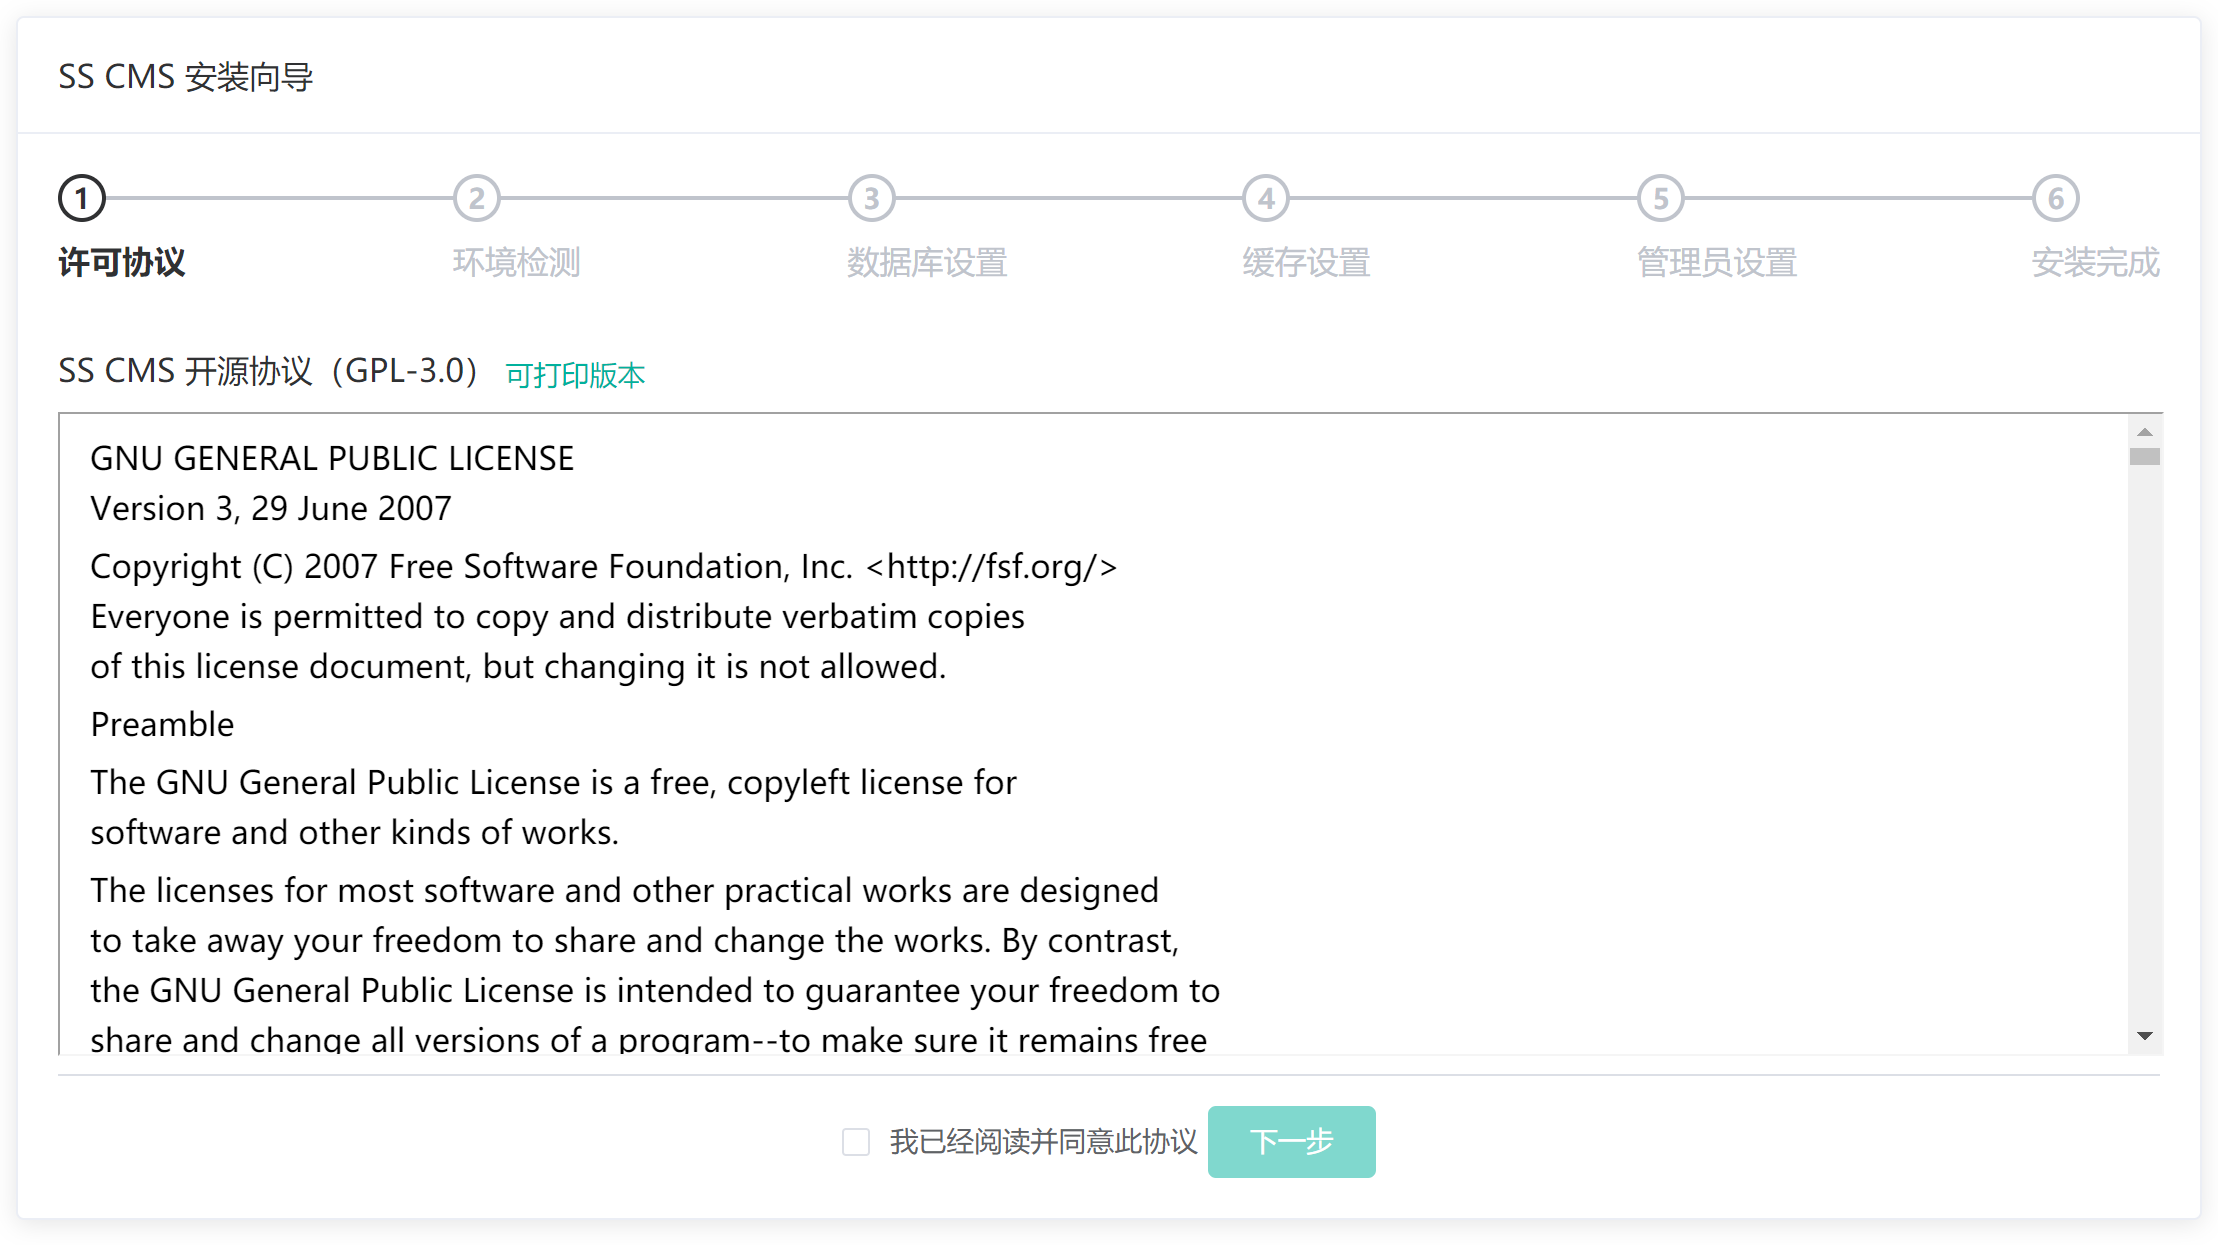
Click Next to enter the environmental monitoring interface:
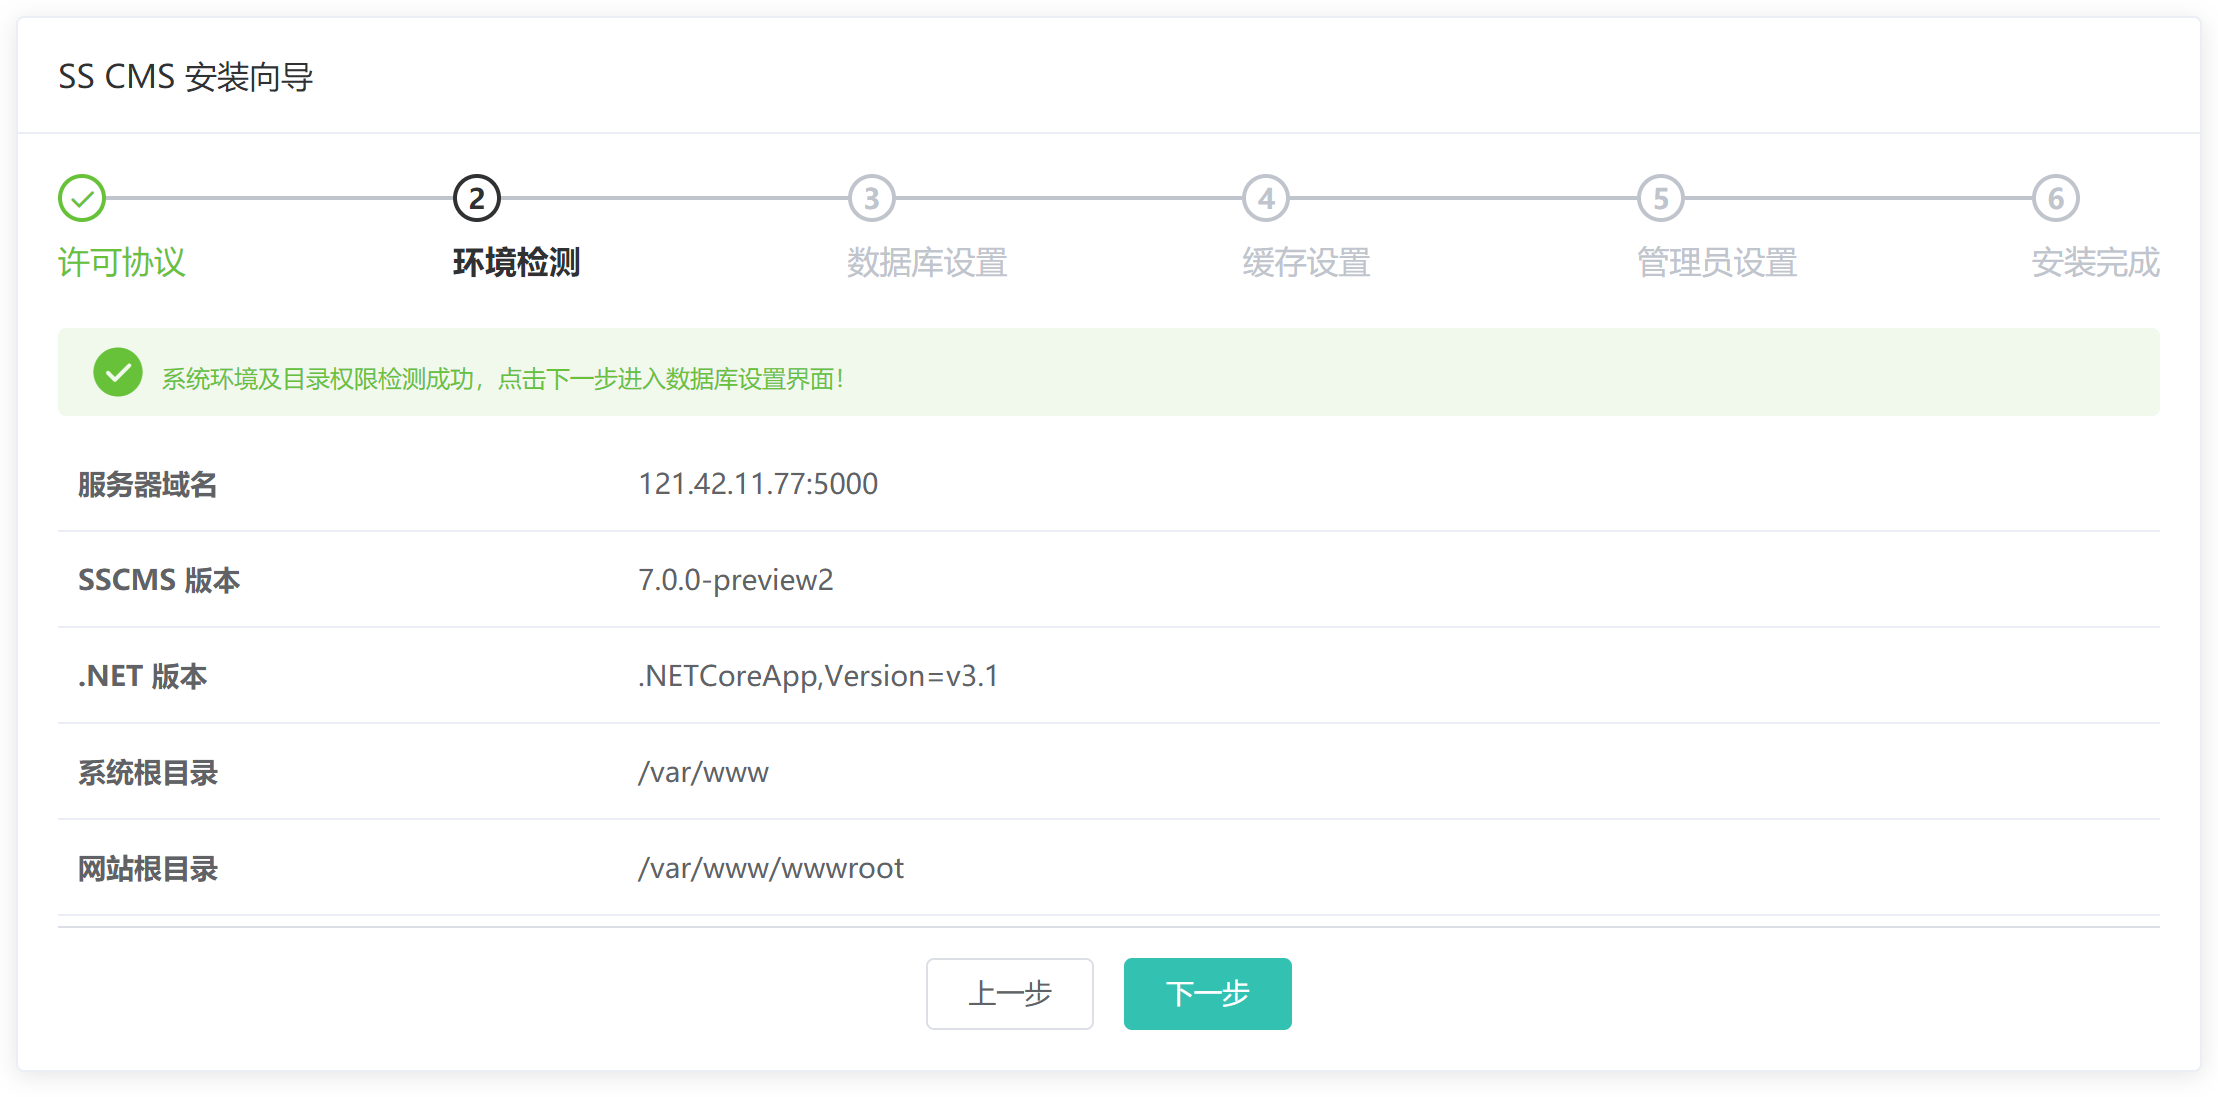
Click Next to enter the database setting interface:
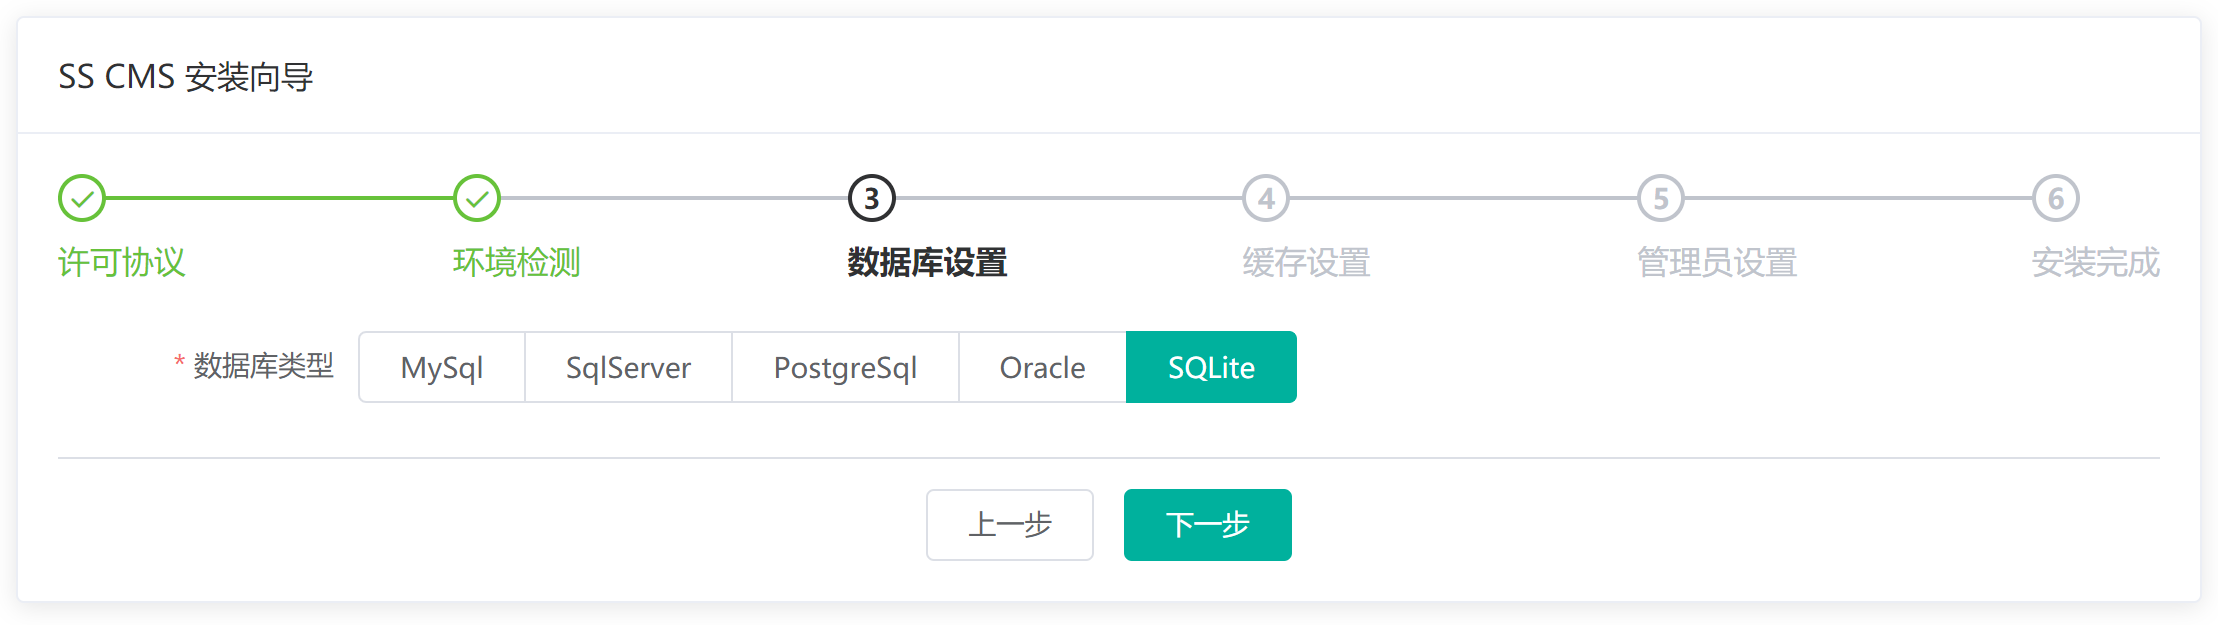
Here, we select the SQLite database, if you want to use another database, please choose according to need, click Next, enter the cache settings interface:

Here, we choose Default, if you want to use Redis distributed cache, please choose according to your needs, and click Next to enter the administrator settings interface:
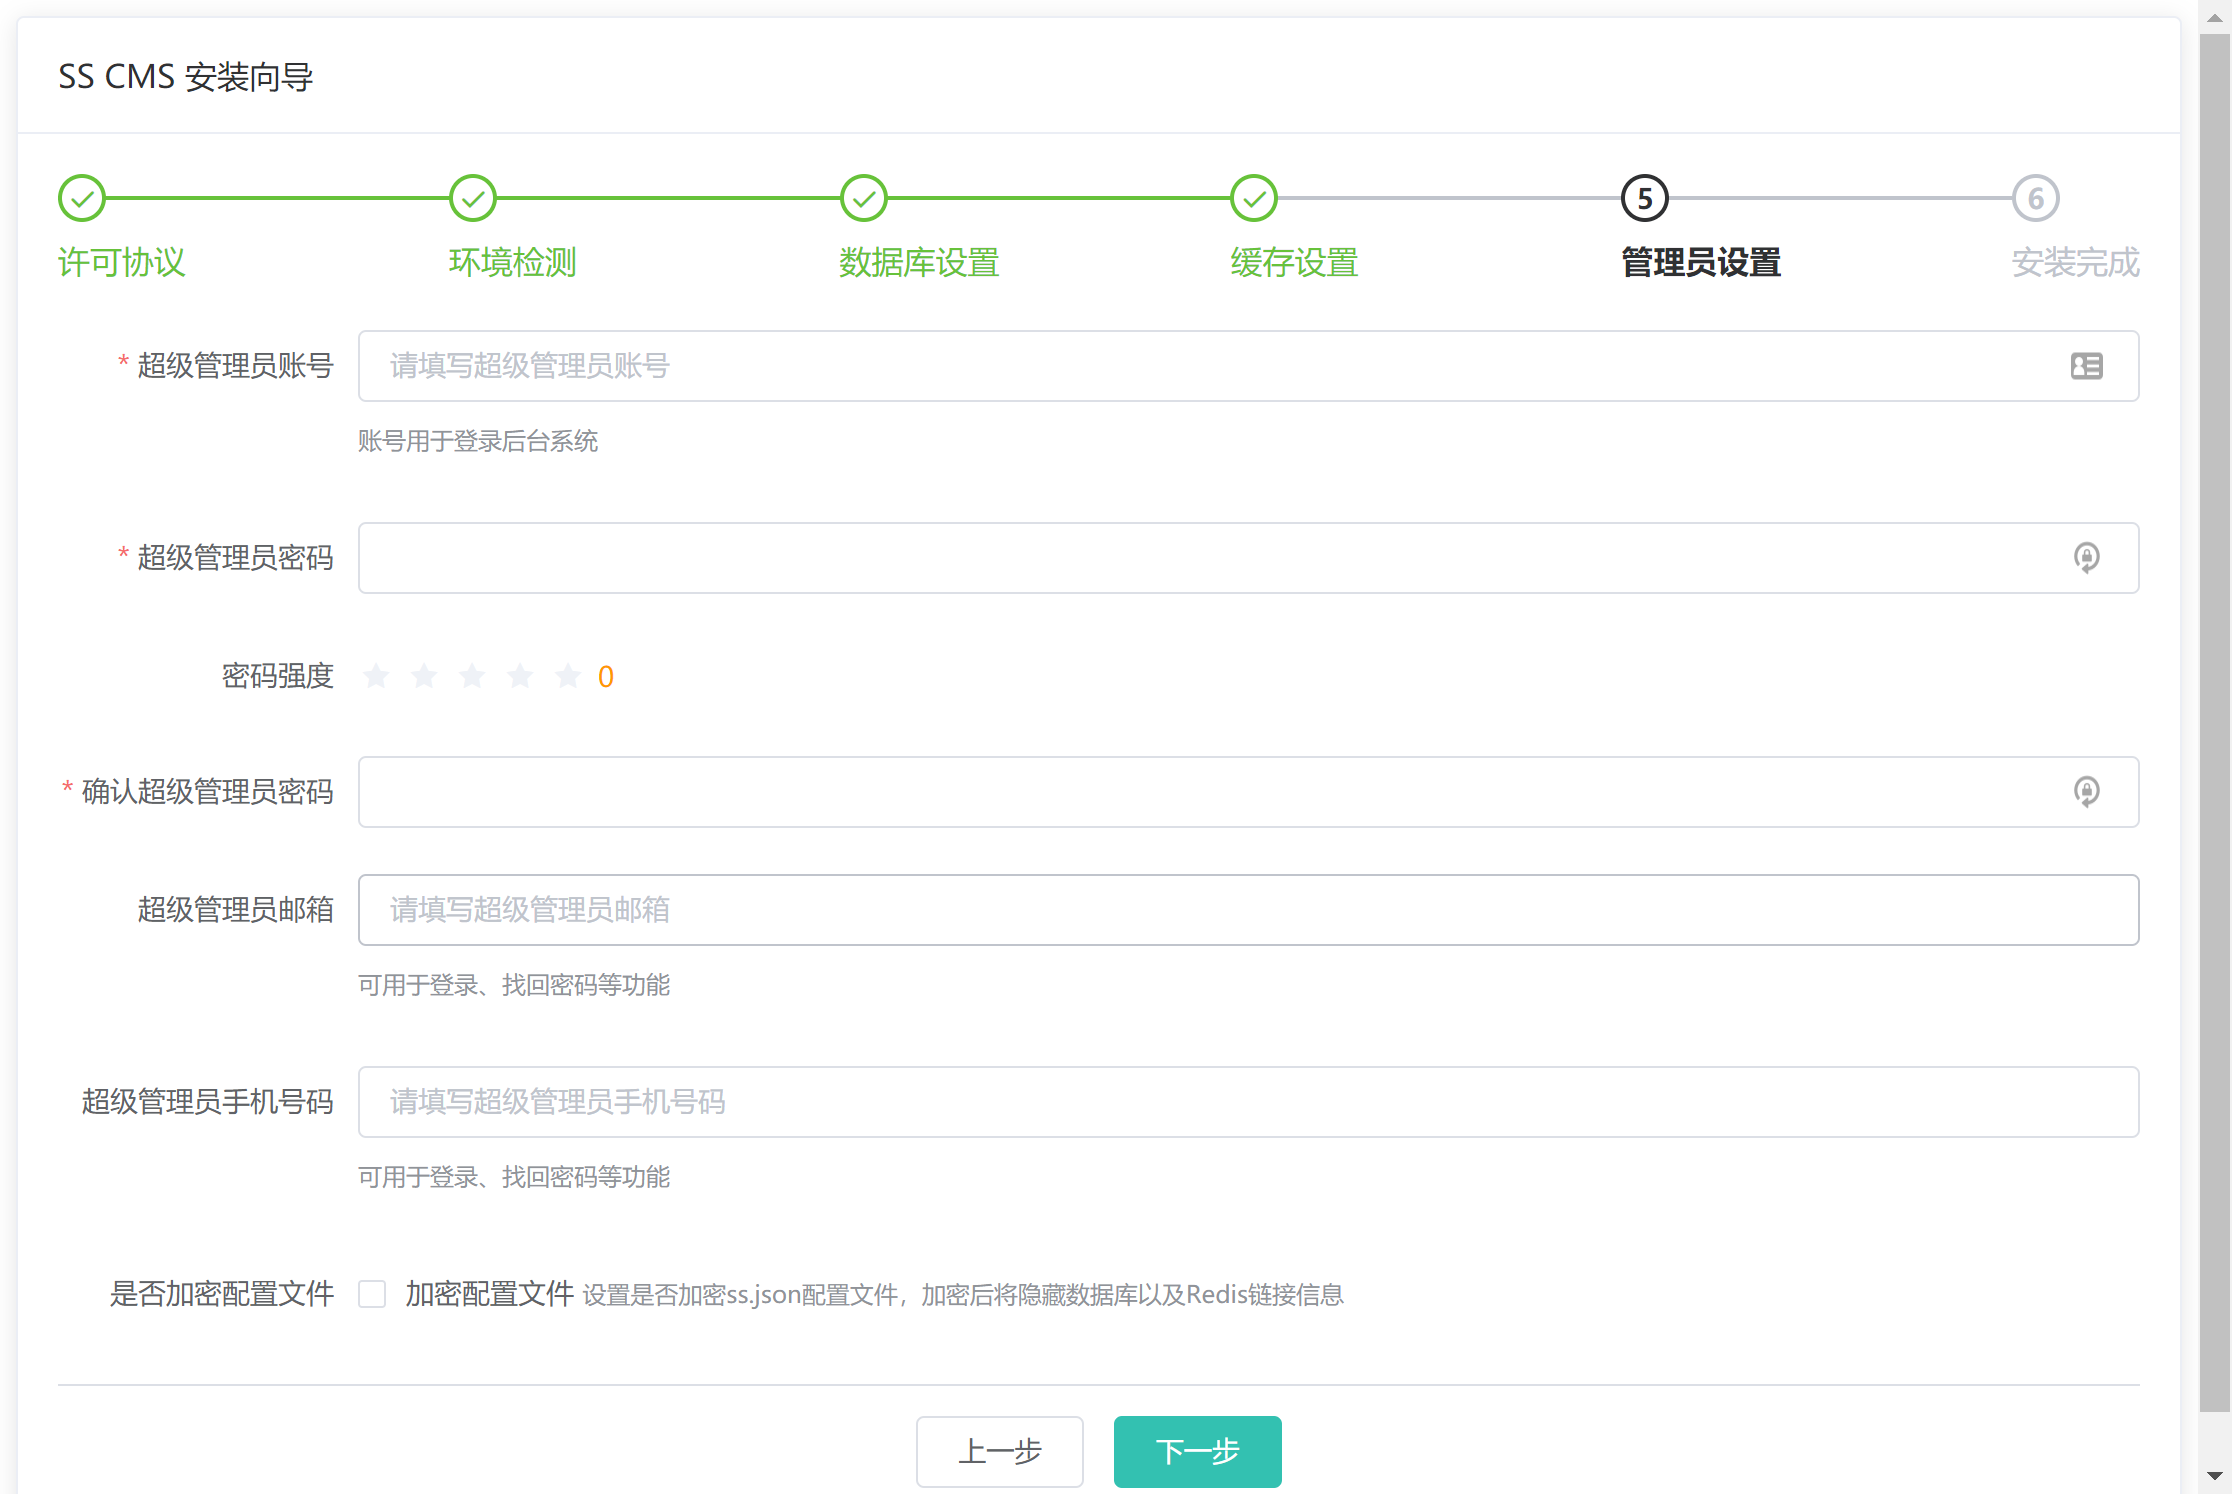
In the administrator setting interface, set the username and password of the super administrator. After setting, click Next, and the system will display the installation success interface:
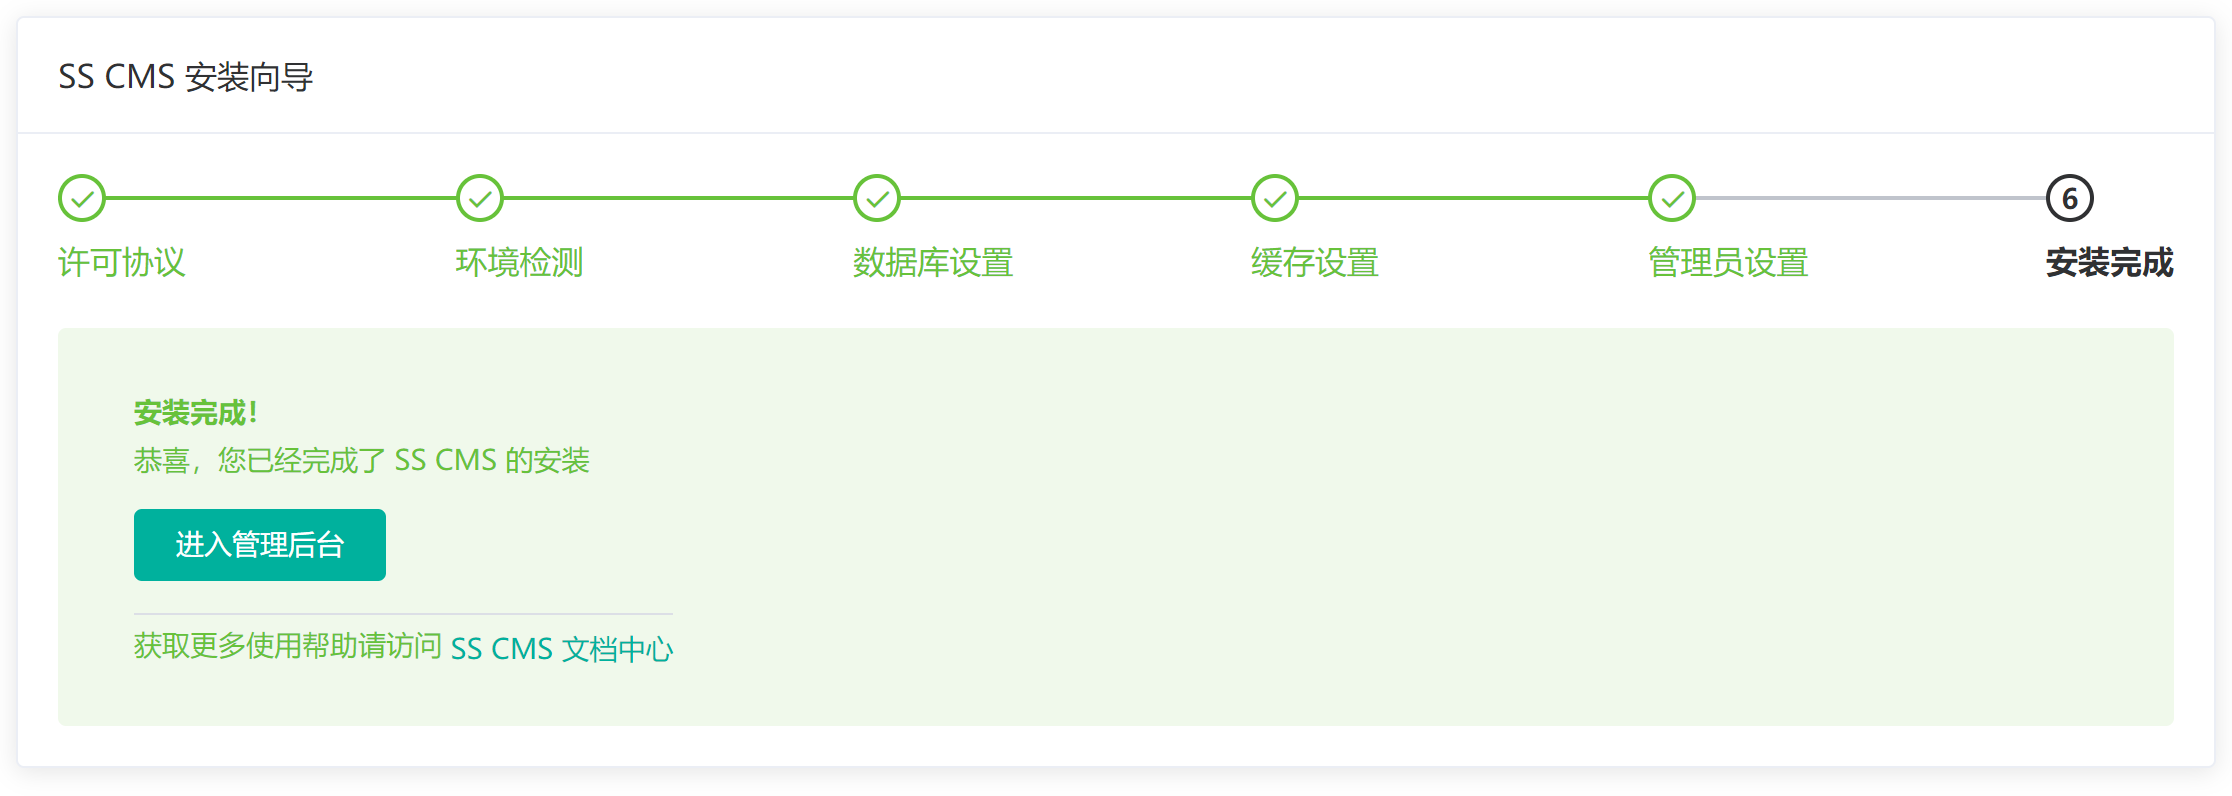
Click the button to go admin interface, so far, SSCMS system is installed.