# Host SSCMS on Windows with IIS
# Supported operating systems
The following operating systems are supported:
- Windows 7 or later
- Windows Server 2012 R2 or later
# IIS configuration
Use the
Add Roles and Featureswizard from theManagemenu or the link inServer Manager. On theServer Rolesstep, check the box forWeb Server (IIS).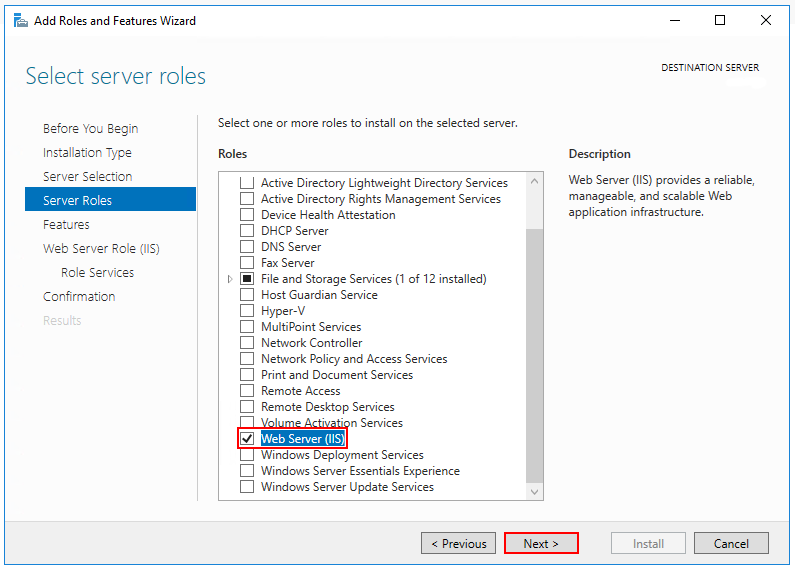
After the
Featuresstep, theRole servicesstep loads for Web Server (IIS). Select the IIS role services desired or accept the default role services provided.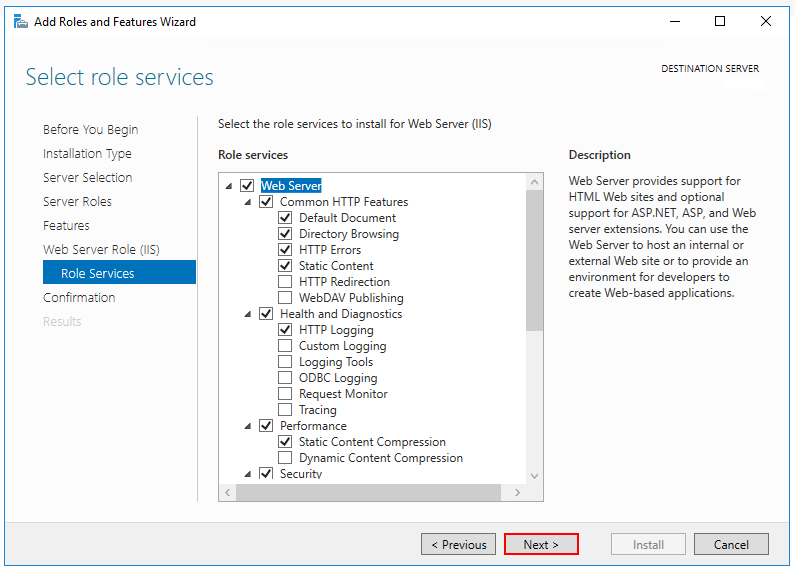
Proceed through the Confirmation step to install the web server role and services. A server/IIS restart isn't required after installing the
Web Server (IIS)role.
# Install the .NET Core Hosting Bundle
Install the .NET Core Hosting Bundle on the hosting system. The bundle installs the .NET Core Runtime, .NET Core Library, and the ASP.NET Core Module. The module allows ASP.NET Core apps to run behind IIS.
NOTE
If the Hosting Bundle is installed before IIS, the bundle installation must be repaired. Run the Hosting Bundle installer again after installing IIS.
# Download the .NET Core Hosting Bundle installer
Download the installer using the following link:
Download the installer using the following link (opens new window)
# Install the Hosting Bundle
Run the installer on the server.
Restart the system or execute the following commands in a command shell:
net stop was /y
net start w3svc
Restarting IIS picks up a change to the system PATH, which is an environment variable, made by the installer.
# Create the IIS site
On the hosting system, create a folder to contain the SSCMS published folders and files. In a following step, the folder's path is provided to IIS as the physical path to SSCMS.
In IIS Manager, open the server's node in the
Connectionspanel. Right-click theSitesfolder. SelectAdd Websitefrom the contextual menu.Provide a
Site nameand set thePhysical pathto the app's deployment folder. Provide theBindingconfiguration and create the website by selectingOK: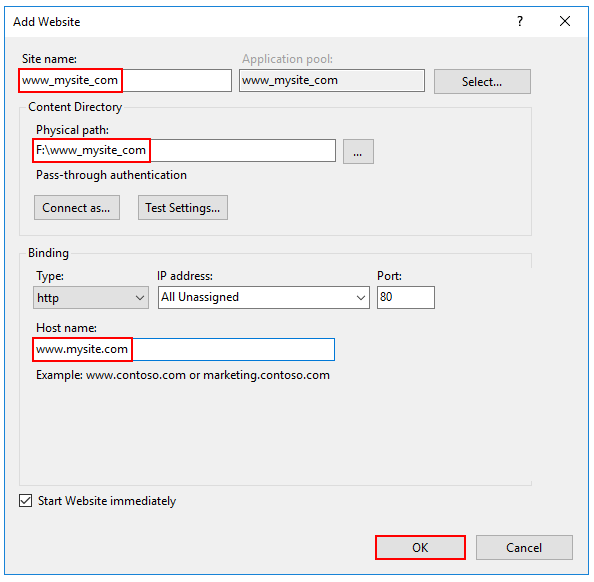
NOTE
Top-level wildcard bindings (http://*:80/ and http://+:80) should not be used. Top-level wildcard bindings can open up your app to security vulnerabilities. This applies to both strong and weak wildcards. Use explicit host names rather than wildcards. Subdomain wildcard binding (for example, *.mysub.com) doesn't have this security risk if you control the entire parent domain (as opposed to *.com, which is vulnerable). See rfc7230 section-5.4 (opens new window) for more information.
Under the server's node, select
Application Pools.Right-click the site's app pool and select
Basic Settingsfrom the contextual menu.In the
Edit Application Poolwindow, set the.NET CLR versiontoNo Managed Code: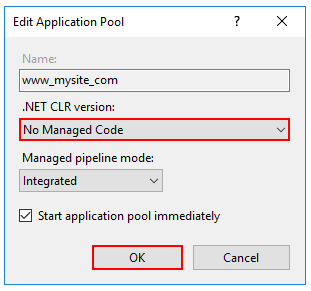
disable the app pool for 32-bit (x86) processes.
In the Actions sidebar of IIS Manager > Application Pools, select Set Application Pool Defaults or Advanced Settings. Locate Enable 32-Bit Applications and set the value to
False.Confirm the process model identity has the proper permissions.
If the default identity of the app pool (
Process Model>Identity) is changed fromApplicationPoolIdentityto another identity, verify that the new identity has the required permissions to access the app's folder, database, and other required resources. For example, the app pool requires read and write access to folders where the app reads and writes files.
# Browse the website
After the app is deployed to the hosting system, make a request to one of the app's public endpoints.
In the following example, the site is bound to an IIS Host name of www.mysite.com on Port 80. A request is made to http://www.mysite.com:
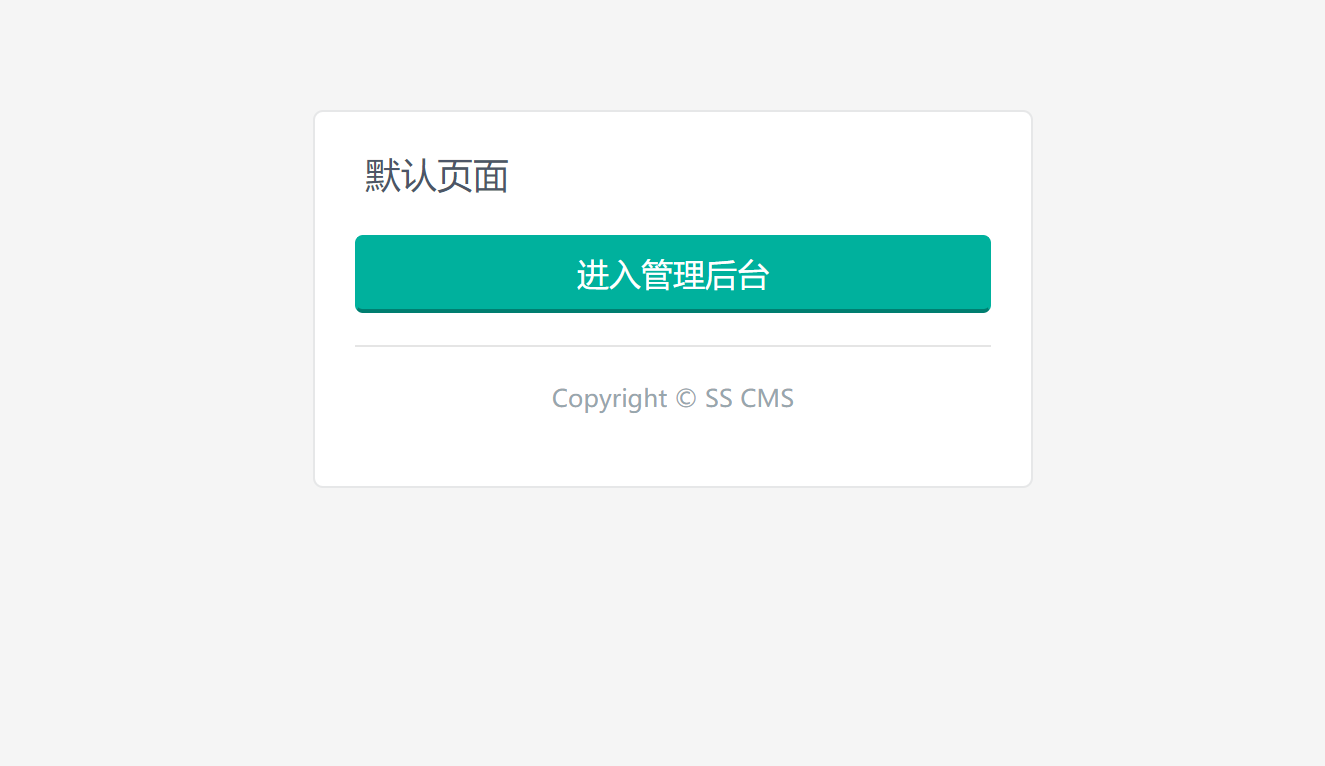
If the system is not yet installed, the system will jump to the SSCMS system installation wizard page after clicking the button to enter the management background.